Microscope Activities, 19: Making and Using a Trough
In the past, Hooke College of Applied Sciences offered a microscopy workshop for middle school and high school science teachers. We thought that these basic microscope techniques would be of interest not only for science teachers, but also for homeschoolers and amateur microscopists. The activities were originally designed for a Boreal/Motic monocular microscope, but the Discussion and Task sections are transferable to most microscopes. You may complete these 36 activities in consecutive order as presented in the original classroom workshop, or skip around to those you find interesting or helpful. We hope you will find these online microscope activities valuable.
EXPERIMENT 19: Making and Using a Trough (Miniature Aquarium)
Goal
To construct a trough (miniature aquarium), and use it for the microscopical study of mini ecosystems.
Level
Basic
Materials Needed
2” x 3” glass microscope slides and/or 2” x 2” glass 35 mm slide mounts and/or 30 mm x 50 mm coverglass; ¼” thick x 2” wide plastic; 5-min epoxy; carbide scriber.
Procedure/Discussion
A trough is a kind of miniature aquarium that can be used for the microscopical observation and study of various mini ecosystems. The trough differs from a live box or well slide in that it is exposed at the top, not covered with a piece of glass. This allows the additional study of floating plants, surface-dwelling organisms, mosquito larvae, etc. The dimensions of the trough can be anything you wish, but a commonly constructed size will be used here by way of example.
Figure 19-1 illustrates the parts needed to make a trough: on the far left is a 2” x 3” microscope slide, and below it is another slide which has been scored with a carbide scriber. Below the scriber is the resulting 1½” x 3” slide, after the scored ½” edge has been removed; if needed, the scored edge may be smoothed with a fine wet-dry silicon carbide paper.

Next, a 2” wide ¼” thick piece of plastic from the hobby shop is cut to be about 1¼” high, and that is cut into a “U” shape using a coping saw—drilling a 1/8” hole at each lower corner will make it easier to turn the blade. This U-shaped piece will form the bottom and sides of the trough.
The front of the trough is made from a 2” x 2” 35 mm slide mount glass or a 30 mm x 50 mm coverglass. About ¾” is removed from one side of the 2” x 2” glass, by scoring and snapping. Both of these are illustrated on the right side of Figure 19-1.
Finally, the U-shaped frame is epoxied to the 1½” x 3” slide and the 1¼” x 2” glass is epoxied to the U-frame. The completed trough is shown at the lower right of Figure 19-1.
The scoring of the 2” x 3” slides and 2” x 2” glass is done by using another 2” x 3” slide as a guide for the scriber; this is illustrated in Figure 19-2

Once the trough has been made, it can be configured for any ecosystem you wish. Figure 19-3 illustrates an example.
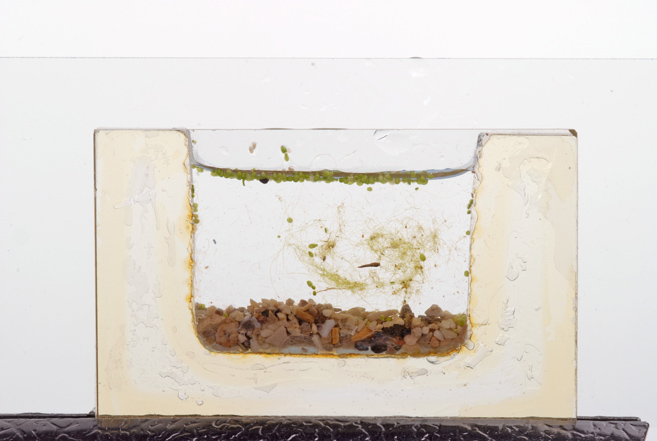
Here we have sieved some gravel from a pond, and combined two size fractions to form the bottom layer. Then water and microorganisms from a freshwater pond are added, and a bit of Cladophora.
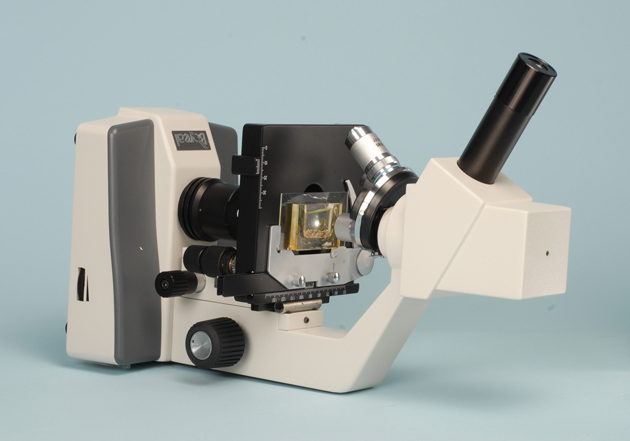
In use, the Boreal/Motic microscope is placed on it back so that the stage will be vertical; the 4X objective is rotated into place; and the trough is installed in the slide holder (Figure 19-4).
Task
Make a trough as described in the Procedure/Discussion section, and configure it in a way of your own choosing.
Comments
add comment