How to Obtain the Best Resolution With a Modest Light Microscope
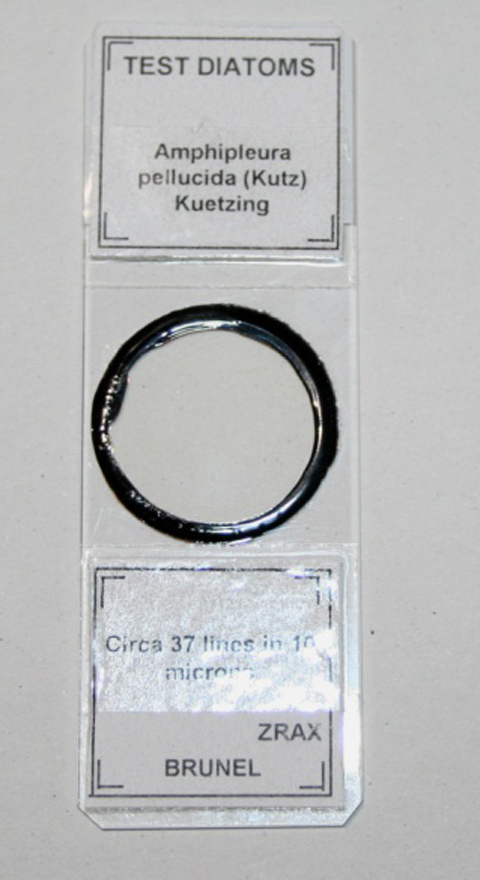
One of the most important tests to verify the potential of a light microscope is to use a diatom slide of Amphipleura pellucida (Kützing) mounted in a high refractive index medium, such as Zrax (n=1.70+) (Figure 1). This type of diatom lives in freshwater lakes and rivers. From the Victorian era to the present day, separation of the lines (striae) and dots (punctae) of this diatom has always been a challenge for the microscopist. The striae of this diatom have a separation of 250 nm (40 to 42 lines in 10 µm; 50 to 52 dots in 10 µm) which is near the limit of optical resolution of a modest light microscope.
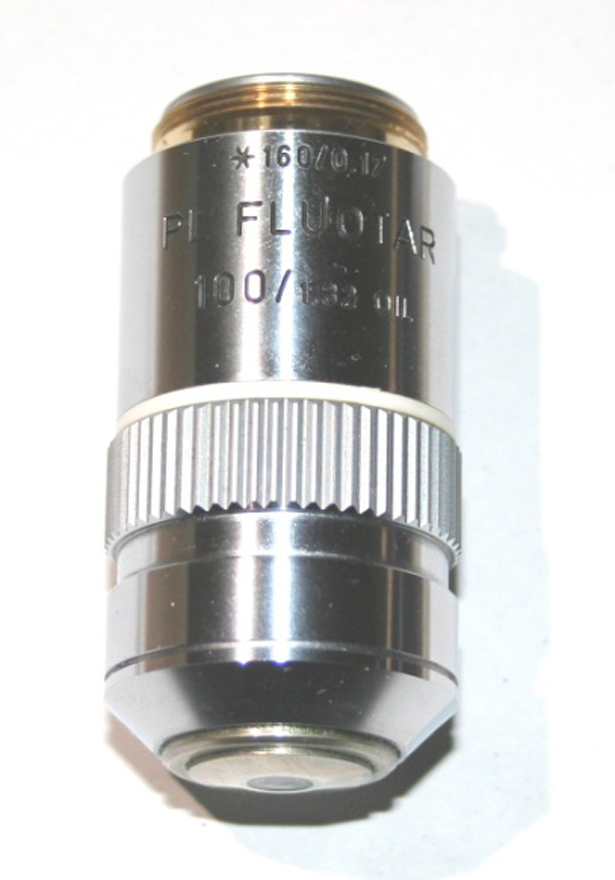
To achieve the separation of the striae and dots you must have accurate control over every single element of the microscope, including, first of all, the objective and condenser of the microscope. You can use a high power objective such as the 63X or 100X with a numerical aperture of at least 1.25, and possibly of the fluorite or apochromatic type with high correction for chromatic and spherical aberration (Figure 2).
The substage condenser must have the characteristics of N.A. ≥ 1.25. A very good condenser of this type is the old Zeiss or LOMO aplanatic condenser with numerical aperture of 1.4 whose aperture diaphragm is on rack and pinion, and rotatable for obtaining oblique illumination from any azimuth (Figure 3).

An important element neglected by most microscope users is to use immersion oil not only between the objective and slide, but also between the slide and the condenser in order to truly achieve the full numerical aperture (see the excellent book Photography Through the Microscope, J. G. Delly: Ninth Edition, page 12). The common use of oil immersing only the objective and not also the condenser drastically decreases the numerical aperture to a maximum of 1.0, the refractive index value of air, and this results in loss of image quality.
Another important element is the use of a light filter (Figure 4). You can use a green filter for achromatic lenses, and a blue filter for APO and semi-APO lenses for increased contrast and detail.

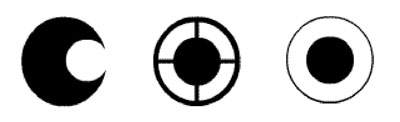
At this point, for increased contrast, you can use an old and very efficient method of illumination; namely, oblique illumination. You can create oblique illumination using particular patch stops (Figure 5) inserted in the filter holder, or you may use the LOMO aplanatic condenser described above.
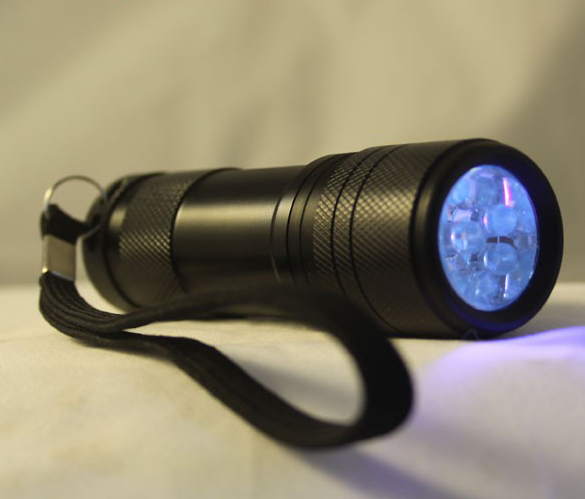
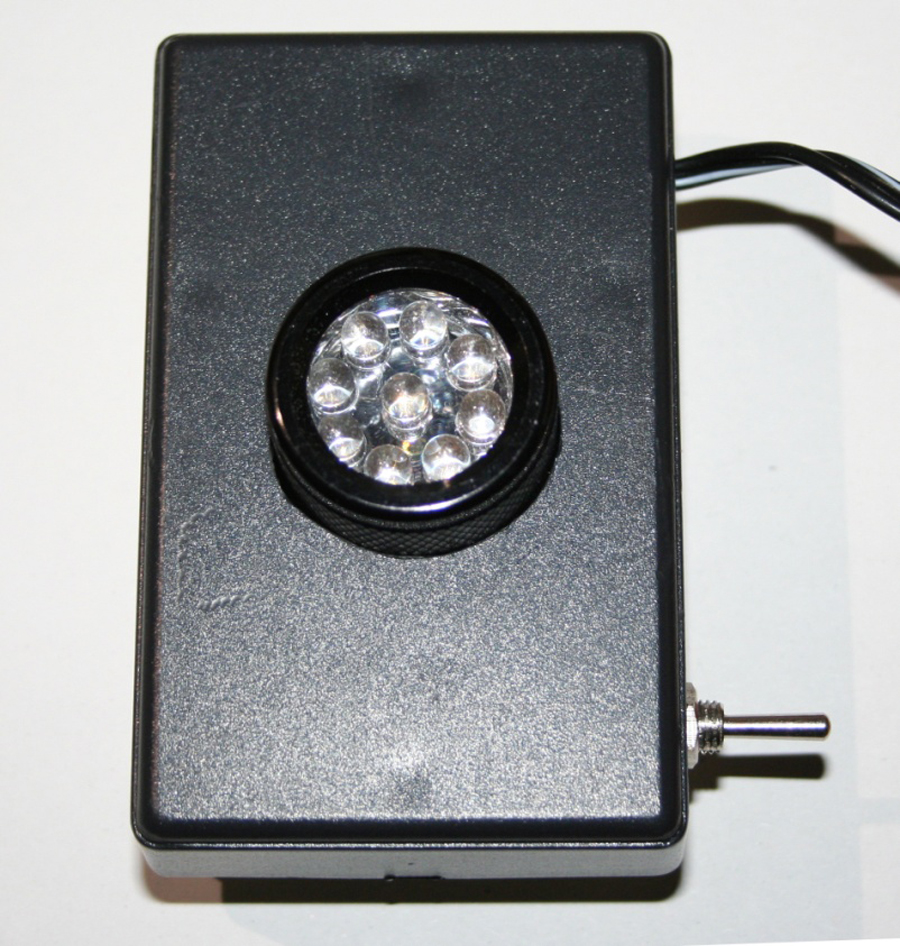
Another important element is the light source. For an increase of 20 percent or more resolution, use ultraviolet light. You can modify a typical flashlight (torch lamp) that uses UV LEDs as the source of illumination (Figures 6 and 7). When using UV light, it is important that you do not look through the eyepieces so as not to damage your eyes, but use a digital camera for focusing the slide on the computer monitor.
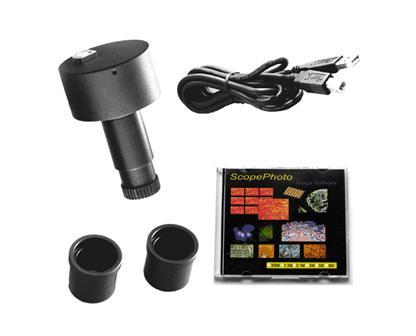
Now insert a CCD camera (I have used a modest 1.3 megapixel CMOS camera, Figure 8) in a trinocular microscope, and connect it to a personal computer with acquisition software.
At this point you can carefully focus your specimen with the fine adjustment to obtain a good photomicrograph; take your time to capture the highest quality image on the computer monitor.
Next, move your patch stop in the filter holder to obtain maximum contrast, and regulate the aperture diaphragm of the condenser. Then, acquire a movie of 200–300 frames. Do not use a compression method so as not to introduce loss of image quality or alteration of chromatic color.
When you have saved an AVI format file in the personal computer, you can process the file to obtain a single image with a good signal-to-noise ratio. For this type of procedure you can use a typical astronomical freeware program called “Registax.”
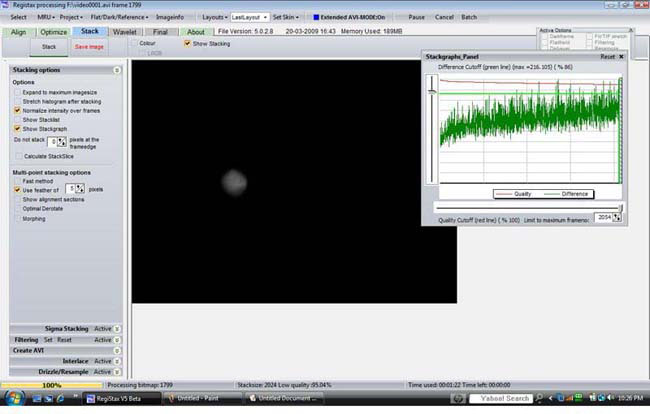
With this software, you can sum and stack a sequence of images taken from a movie and save it as a single image. The technique of summing and stacking images has the advantage of increasing the signal, and decreasing the noise typically introduced by an electronic CCD. Another method to eliminate CCD noise is to use the technique of darkfield, and capture a photo of the electronic noise only (Figure 9), then subtract that single photo from the final image to eliminate electronic noise.
In Registax you can also use the wavelet method to sharpen detail better than the Contrast Mask typically used in Photoshop®. Then the final image is loaded into Photoshop® to adjust the Levels, Curves, and Brightness/Contrast (Figure 10). Finally, use the Emboss filter for incremental refinement of the final result.
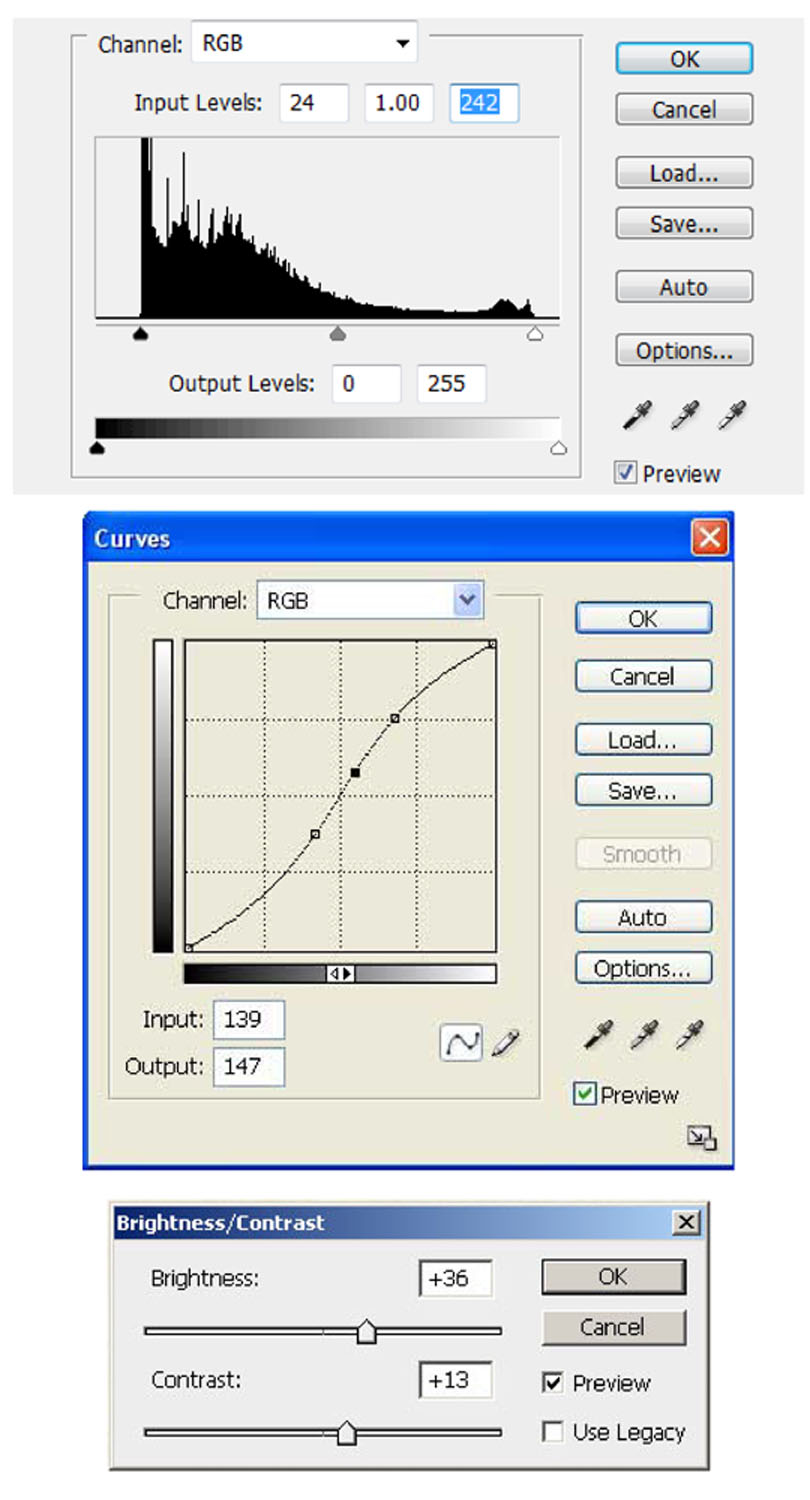
Figure 11, below, shows the final result using the described technique with a Leitz Fluotar 100X 1.32 NA objective:

If the blue background resulting from the use of the UV LEDs is not desired, a UV cutoff filter may be advantageously placed in the light path somewhere after the objective.
The steps for obtaining good images are not immediately achieved, and require time and a little practiced experience with the setting of all the parameters in the microscope, but the satisfaction is great in the final result.
I hope that in addition to the described technique, which is fundamental to obtain good results, it is realized that only with a passion for microscopy do we obtain excellent results.
Walter Franchini, Milan, Italy
franchiniwalter@tiscali.it
Comments
add comment